

因为使用的是新版esp-generate创建的项目,很多api的使用都大改了,网上能搜到的类似的教程也都完全没法用,这个教程是使用最新版esp-hal基于rust开发esp32c3驱动st7789屏幕。
看网上有些项目叫MOSI,MISO的,也有叫SDI,SDO,这两个本质就是一个东西,在不同协议叫法不同。SPI 协议中大家都喜欢叫 MOSI / MISO,有些芯片厂商文档上写的是 SDI / SDO;
- MOSI == SDI(对于从机):表示“数据输入”
- MISO == SDO(对于从机):表示“数据输出”
项目创建
在 rust裸机开发esp32c3 的基础上,先新建一个最基础的环境
引入依赖
[dependencies]
critical-section = "1.2.0"
esp-hal          = { version = "1.0.0-beta.0", features = ["esp32c3","unstable"] }
esp-println = { version = "0.13.1",features = ["esp32c3","log"] }
log = "0.4.27"


# 图形相关
embedded-hal = "1.0.0"
embedded-graphics-core = "0.4.0"
embedded-graphics = "0.8.1"
embedded-graphics-framebuf = "0.5.0"
display-interface = "0.5.0"
display-interface-spi = "0.5.0"
mipidsi = "0.9.0"
embedded-hal-bus = "0.3.0"
编写main.rs代码
#![no_std]
#![no_main]

use embedded_graphics::Drawable;
use embedded_graphics::image::{Image, ImageRawLE};
use embedded_graphics::pixelcolor::Rgb565;
use embedded_graphics::prelude::{DrawTarget, Point, Primitive, RgbColor};
use embedded_graphics::primitives::PrimitiveStyle;
use embedded_graphics_core::prelude::Size;
use embedded_graphics_core::primitives::Rectangle;
use embedded_hal::delay::DelayNs;
use embedded_hal::digital::ErrorType;
use embedded_hal_bus::spi::ExclusiveDevice;
use esp_hal::clock::CpuClock;
use esp_hal::delay::Delay;
use esp_hal::gpio::{Level, Output, OutputConfig};
use esp_hal::main;
use esp_hal::spi::master::{Config, Spi};
use esp_hal::spi::Mode;
use esp_hal::time::{Duration, Instant, Rate};
use esp_println::logger::init_logger;
use esp_println::println;
use log::{error, LevelFilter};
use mipidsi::_mock::MockSpi;
use mipidsi::models::ST7789;
use mipidsi::Builder;
use mipidsi::interface::SpiInterface;
use mipidsi::options::Orientation;

#[panic_handler]
fn panic(e: &core::panic::PanicInfo) -> ! {
    println!("{}",e);
    loop {
    }
}

#[main]
fn main() -> ! {
    // generator version: 0.3.1

    let config = esp_hal::Config::default().with_cpu_clock(CpuClock::max());
    init_logger(LevelFilter::Debug);

    let peripherals = esp_hal::init(config);

    let mut delay = Delay::new();

    let mut rst = Output::new(peripherals.GPIO3,Level::Low,OutputConfig::default());
    delay.delay_ms(20);       // 保持 RST 为低电平至少 10~20ms
    rst.set_high();           // 然后再拉高
    delay.delay_ms(100);      // 拉高后也延迟一下,再继续初始化

    let dc = Output::new(peripherals.GPIO4,Level::Low,OutputConfig::default());
    let mut backlight = Output::new(peripherals.GPIO5,Level::Low,OutputConfig::default());

    let sclk = peripherals.GPIO6;
    let sda = peripherals.GPIO7;
    let sdi = peripherals.GPIO8;
    let cs = peripherals.GPIO10;


    let spi = Spi::new(peripherals.SPI2,
                       Config::default()
                           .with_mode(Mode::_3)
                           .with_frequency(Rate::from_mhz(40))
    ).unwrap()
        .with_sck(sclk)
        .with_miso(sdi)
        .with_mosi(sda);


    let cs_output = Output::new(cs,Level::High,OutputConfig::default());
    let spi_device =  ExclusiveDevice::new_no_delay(spi,cs_output).unwrap();

    let mut buffer = [0_u8; 512];
    let di = SpiInterface::new(spi_device,dc,&mut buffer);

    let mut display = Builder::new(ST7789,di)
        .display_size(240,240)
        .orientation(Orientation::new())
        .reset_pin(rst)
        .init(&mut delay).unwrap();

    println!("display 初始化完成");
    backlight.set_high();

    let raw_image_data = ImageRawLE::new(include_bytes!("../../assets/ferris.raw"), 86);

    let mut x = 0;
    loop {
        display.clear(Rgb565::BLACK).unwrap();
        let ferris = Image::new(&raw_image_data, Point::new(x, 0));
        // draw image on black background
        display.clear(Rgb565::BLACK).unwrap();
        ferris.draw(&mut display).unwrap();
        delay.delay_millis(400);
        x+=10;
        if x >= 140{
            x = 0;
        }
    }

    // for inspiration have a look at the examples at https://github.com/esp-rs/esp-hal/tree/esp-hal-v1.0.0-beta.0/examples/src/bin
}
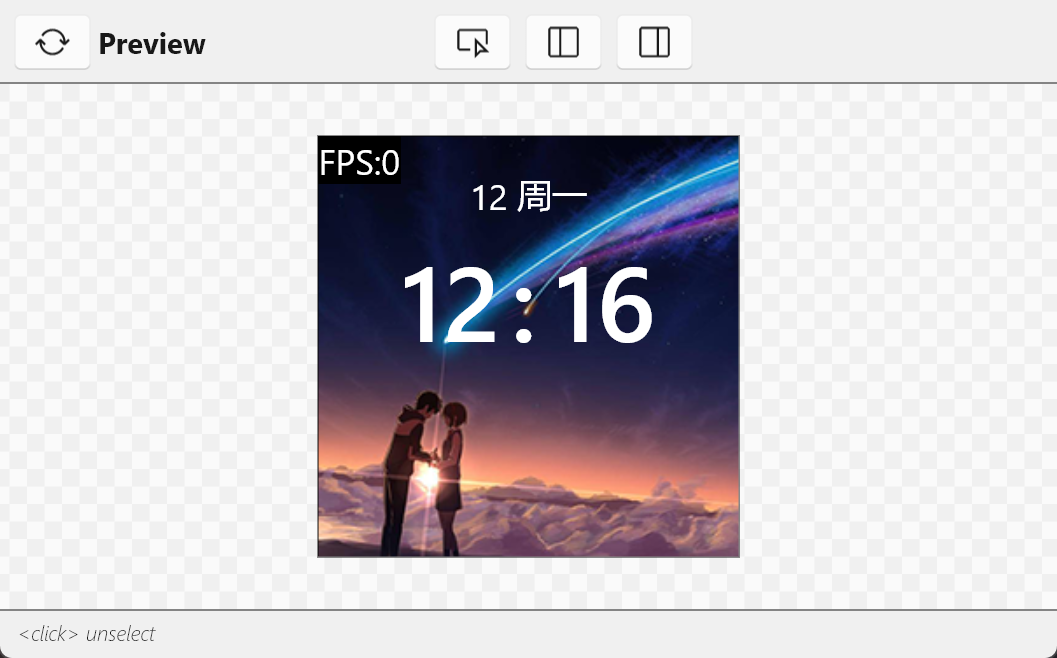
效果展示


评论 (0)