
搜索到
112
篇与
的结果
-
安卓使用 RxJava 封装 RxBus 实现事件总线 1. 引入依赖在 build.gradle 文件中添加 RxJava 和 RxBus 所需的依赖:dependencies { implementation 'io.reactivex.rxjava2:rxjava:2.2.21' // RxJava 依赖 implementation 'io.reactivex.rxjava2:rxandroid:2.1.1' // RxAndroid 依赖(可选,用于 Android 线程切换) }2. 定义 RxBus 类创建一个封装了 RxJava 的 RxBus 类,它负责管理消息的发布与订阅。public class RxBus { private final PublishSubject<Object> bus; private RxBus() { bus = PublishSubject.create(); } private static class Holder { private static final RxBus INSTANCE = new RxBus(); } public static RxBus getInstance() { return Holder.INSTANCE; } // 发送事件 public void post(Object event) { bus.onNext(event); } // 订阅事件 public <T> Observable<T> toObservable(Class<T> eventType) { return bus.ofType(eventType); } }PublishSubject 是 RxJava 提供的一个 Subject,它可以同时作为观察者和被观察者。当你调用 onNext 时,所有订阅者都会接收到消息。toObservable 方法允许我们根据事件类型过滤消息。3. 创建自定义事件类根据不同的需求定义不同的事件类。例如,创建一个表示登录成功的事件:public class LoginEvent { private String userName; private String userId; public LoginEvent(String userName, String userId) { this.userName = userName; this.userId = userId; } public String getUserName() { return userName; } public String getUserId() { return userId; } }4. 发送事件当需要发送事件时,可以通过 RxBus.getInstance().post() 方法将事件发布出去:// 发送登录成功事件 LoginEvent loginEvent = new LoginEvent("JohnDoe", "12345"); RxBus.getInstance().post(loginEvent);5. 在多个地方监听事件在不同的地方(如 Activity 或 Fragment),你可以通过 RxBus 监听事件。为了避免内存泄露,我们使用 CompositeDisposable 来管理订阅。public class MainActivity extends AppCompatActivity { private CompositeDisposable compositeDisposable = new CompositeDisposable(); @Override protected void onStart() { super.onStart(); // 订阅事件 Disposable disposable = RxBus.getInstance() .toObservable(LoginEvent.class) .observeOn(AndroidSchedulers.mainThread()) .subscribe(loginEvent -> { // 处理登录事件 Log.d("MainActivity", "User Logged In: " + loginEvent.getUserName()); }); compositeDisposable.add(disposable); // 添加到 CompositeDisposable 管理 } @Override protected void onStop() { super.onStop(); compositeDisposable.clear(); // 清除所有订阅,避免内存泄露 } }compositeDisposable.add(disposable) 用于添加订阅到 CompositeDisposable 中。在 onStop() 中调用 compositeDisposable.clear() 来清除所有的订阅,避免因为 Activity 或 Fragment 销毁后仍然存在未取消的订阅导致内存泄露。
-
SSH 公钥认证登录 1. 什么是 SSH 公钥认证?SSH(Secure Shell)是一种用于安全远程登录的协议,而公钥认证是一种基于非对称加密的身份验证方式,相比密码认证更加安全可靠。公钥认证的核心思想是:服务器保存用户的 公钥(public key)用户使用 私钥(private key) 进行身份验证服务器验证私钥是否匹配公钥,从而决定是否允许登录2. SSH 密钥对的生成在客户端(例如 Linux/Mac 终端或 Windows 的 Git Bash)执行以下命令生成 SSH 密钥对:ssh-keygen -t rsa -b 4096 -C "your_email@example.com"参数解析:-t rsa:指定密钥类型为 RSA(推荐使用 ed25519 代替 rsa)。-b 4096:指定 RSA 密钥长度为 4096 位(默认 2048 位)。-C "your_email@example.com":为密钥添加注释,便于管理。执行后输出示例:Generating public/private rsa key pair. Enter file in which to save the key (/home/user/.ssh/id_rsa):默认情况下,密钥会存放在 ~/.ssh/ 目录下:私钥:~/.ssh/id_rsa(需妥善保管,切勿泄露)公钥:~/.ssh/id_rsa.pub(可安全分发给服务器)3. 配置服务器以支持公钥认证3.1 将公钥添加到服务器使用以下命令将公钥复制到服务器:ssh-copy-id -i ~/.ssh/id_rsa.pub user@server_ip如果 ssh-copy-id 不可用,可以手动执行:cat ~/.ssh/id_rsa.pub | ssh user@server_ip "mkdir -p ~/.ssh && chmod 700 ~/.ssh && cat >> ~/.ssh/authorized_keys && chmod 600 ~/.ssh/authorized_keys"3.2 修改 SSH 配置文件确保服务器的 SSH 配置允许公钥认证,编辑 /etc/ssh/sshd_config 文件:sudo nano /etc/ssh/sshd_config找到并修改以下参数(如果没有,请手动添加):PubkeyAuthentication yes AuthorizedKeysFile .ssh/authorized_keys PasswordAuthentication no # 关闭密码登录,增强安全性保存并退出后,重启 SSH 服务:sudo systemctl restart sshd # CentOS / Ubuntu sudo service ssh restart # Debian / older systems4. 使用 SSH 密钥进行登录配置完成后,即可使用 SSH 密钥登录服务器:ssh -i ~/.ssh/id_rsa user@server_ip如果你已经将私钥默认保存在 ~/.ssh/ 目录,并命名为 id_rsa,则可以直接使用:ssh user@server_ip5. 使用 SSH 登录别名为了方便管理多个 SSH 服务器,可以在 ~/.ssh/config 文件中定义别名。5.1 编辑 SSH 配置文件nano ~/.ssh/config5.2 添加以下内容Host demo HostName server_ip User demo IdentityFile ~/.ssh/id_rsa Port 22 # 可选,若更改 SSH 端口需指定5.3 直接使用别名登录ssh demo6. 其他增强安全性措施6.1 禁用 root 直接 SSH 登录修改 /etc/ssh/sshd_config 文件,找到以下行:PermitRootLogin no然后重启 SSH 服务。6.2 使用 Fail2Ban 进行 SSH 防爆破安装 Fail2Ban 防止暴力破解:sudo apt install fail2ban # Ubuntu/Debian sudo yum install fail2ban # CentOS启动并启用 Fail2Ban:sudo systemctl enable fail2ban sudo systemctl start fail2ban6.3 修改默认 SSH 端口在 /etc/ssh/sshd_config 文件中修改 Port 参数:Port 2222 # 更换默认 22 端口然后重启 SSH 服务:sudo systemctl restart sshd
-
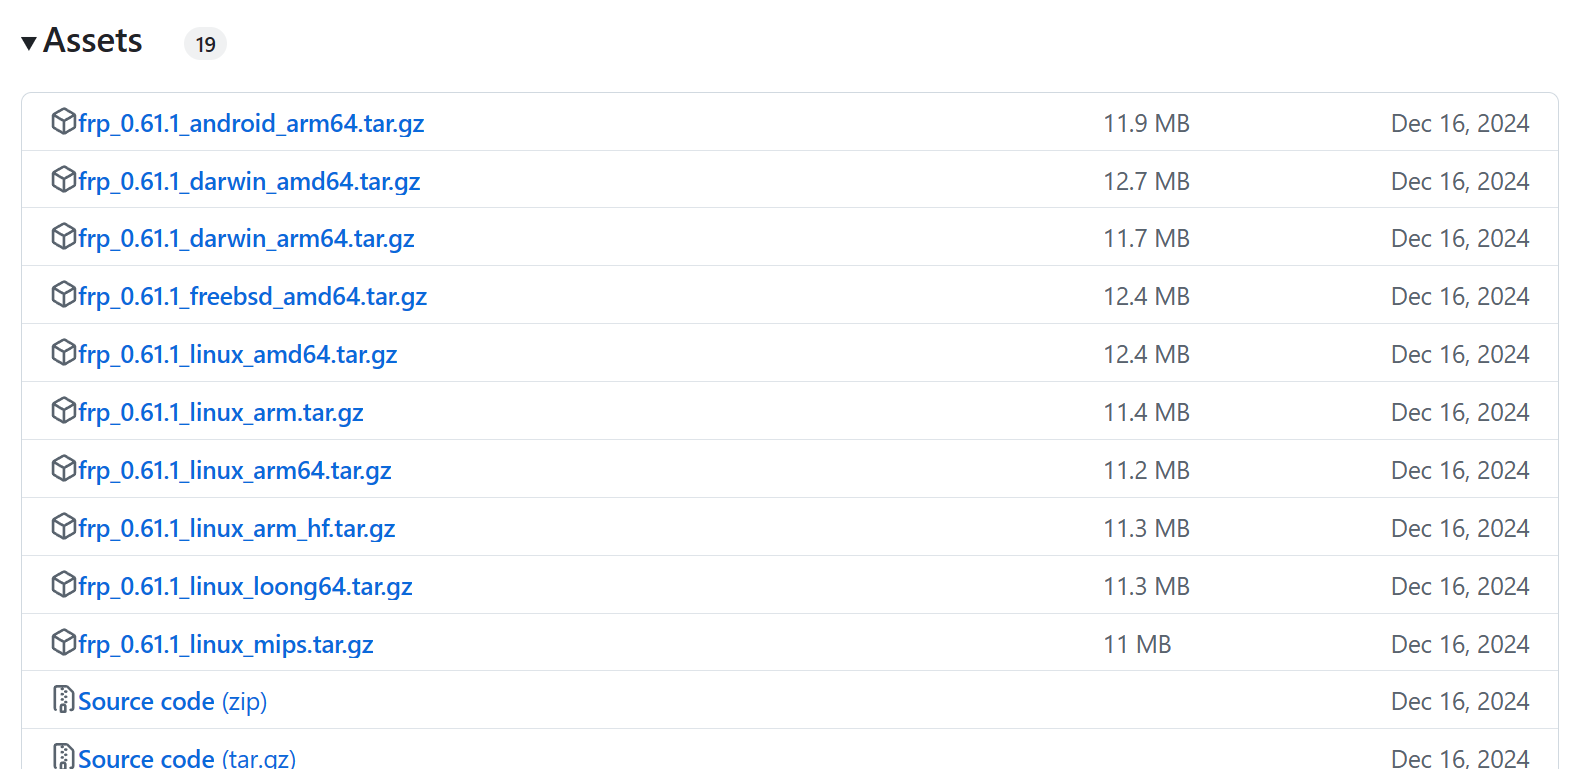
 我的世界低延迟联机 此方案需要服务器,主要针对国外服务器,一般延迟比较高,使用服务器部署frps服务端,充当中间信令服务器,反向代理服务器实现原理通过frp的p2p点对点连接实现低延迟联机操作步骤软件下载下载对应的frp软件,服务器,本地设备(Windows,安卓)都需要下载https://github.com/fatedier/frp/releases配置服务器端服务器端的配置文件frps.toml[common] bind_port = 10008 enable_p2p = true启动服务器的frps# frps的当前目录运行,指定配置文件路径 ./frps -c frps.toml输出frps started successfully就启动成功了配置客户端(被访问端)即开服的设备(Windows,安卓termux)配置文件server.toml# 服务器的域名或ip地址 serverAddr = "x.x.x.x" serverPort = 10008 # 如果默认的 STUN 服务器不可用,可以配置一个新的 STUN 服务器 # natHoleStunServer = "xxx" [[proxies]] name = "p2p_mc" type = "xtcp" # 只有共享密钥 (secretKey) 与服务器端一致的用户才能访问该服务 secretKey = "aaaaa" localIP = "127.0.0.1" # 我的世界服务器的端口 localPort = 25565启动客户端的fprc# cmd输入 frpc.exe -c server.toml配置客户端(访问者端)配置文件client.tomlserverAddr = "x.x.x.x" serverPort = 10008 # 如果默认的 STUN 服务器不可用,可以配置一个新的 STUN 服务器 # natHoleStunServer = "xxx" [[visitors]] name = "p2p_mc_visitor" type = "xtcp" # 要访问的 P2P 代理的名称 serverName = "p2p_mc" secretKey = "aaaaaa" # 绑定本地端口以访问 远程服务 bindAddr = "127.0.0.1" bindPort = 6000 # 如果需要自动保持隧道打开,将其设置为 true # keepTunnelOpen = false启动客户端的frpc# cmd输入 frpc.exe -c client.toml验证是否可以成功建立p2p连接命令行输入curl localhost:6000看到这个提示则表示成功建立了连接客户端连接我的世界服务器的地址为localhost:6000
 -
Linux 使用 screen 在Linux环境中,screen 是一个非常实用的终端多路复用工具,它可以让你在一个终端窗口中同时运行多个会话,并且能够在不同会话之间切换。screen 使得你可以保持任务在后台运行,甚至在断开 SSH 连接后,依然能够继续执行这些任务。1. 安装 screen大多数Linux发行版默认都提供了 screen 软件包。如果你的系统上没有安装,可以使用如下命令进行安装:Debian/Ubuntu 系统:sudo apt-get install screenCentOS/RHEL 系统:sudo yum install screenArch 系统:sudo pacman -S screen2. 启动 screen运行 screen 时,它会启动一个新的会话,并将你带入一个新的虚拟终端。基本的启动命令如下:screen此时,你会进入一个新的会话,你可以在这个会话中运行任何命令。你可以通过按下 Ctrl+A 再按 C 来创建一个新的虚拟终端。每个虚拟终端都有自己的命令行。3. 基本命令和操作创建新会话按下 Ctrl+A 然后按 C,这将创建一个新的窗口,你可以在新窗口中继续执行命令。切换会话切换到下一个窗口:Ctrl+A 然后按 N(next)切换到上一个窗口:Ctrl+A 然后按 P(previous)切换到指定窗口:Ctrl+A 然后按数字键(0-9)分离会话如果你想将会话挂起,并返回到主终端,使用以下命令:Ctrl+A d这会把当前会话分离(detach),你可以在后续任何时候重新连接到它。恢复会话要恢复一个已经分离的会话,使用:screen -r如果有多个会话,你需要指定会话ID:screen -r <会话ID>关闭会话要关闭当前会话,可以直接退出会话中的 shell(例如 exit 或 Ctrl+D)。会话关闭后,所有在该会话中运行的程序都会停止。4. 常用参数说明screen 有很多强大的选项,下面是一些常用的参数及其解释:启动会话时指定名称你可以为会话指定一个名称,这样可以更容易地管理多个会话:screen -S mysession该命令将启动一个名为 mysession 的会话。列出所有会话查看当前所有的 screen 会话:screen -ls输出类似于:There are screens on: 1234.mysession (Detached) 5678.othersession (Detached) 2 Sockets in /var/run/screens/S-user.连接到特定会话如果你有多个会话,可以通过以下命令连接到指定的会话:screen -r <会话ID>创建会话并执行命令你可以创建一个会话并同时执行命令:screen -S mysession bash -c "your-command"这将在 mysession 会话中执行指定的命令。持久化运行命令你可以通过 -d -m 参数让 screen 在后台运行一个命令:screen -d -m your-command这会在后台启动一个 screen 会话并执行 your-command。进入已分离的会话当会话被分离后,想要重新连接到这个会话可以使用:screen -r mysession5. 配置文件screen 提供了配置文件功能,可以在文件 .screenrc 中指定个性化设置。你可以在用户的主目录下创建这个文件,或者在 /etc/screenrc 中设置系统级别的配置。常见的配置选项包括:设置默认窗口的标题:hardstatus alwayslastline "%{= kG}%-Lw%{= kY}[%n] %t%{-}%+Lw%{= kG}"自动启动某些命令:screen -t mysession bash -c "echo Hello World"6. 高级功能分屏功能screen 允许你在一个窗口中分割出多个视图,类似于 tmux。水平分割:Ctrl+A 然后按 S(split horizontally)垂直分割:Ctrl+A 然后按 |(split vertically)切换分屏:Ctrl+A 然后按 Tab(toggle between splits)关闭分屏:Ctrl+A 然后按 X(close split)设置窗口日志screen 允许你在运行的会话中记录日志,命令如下:Ctrl+A H这会将屏幕内容保存到 screenlog.0 文件中,默认保存在当前目录。7. 退出 screen在 screen 中,退出的方法有两种:在当前会话中使用 exit 命令,或者按下 Ctrl+D 退出 shell 会话;在 screen 内部按下 Ctrl+A 然后按 K,这将关闭当前窗口。如果你已经分离了会话,使用 screen -r 重新连接后也可以通过退出会话关闭会话。
-
使用 SSH 端口转发实现内网穿透 SSH 端口转发是一种高效、安全的方式,可以将本地服务暴露到远程服务器,或者将远程服务映射到本地。SSH 端口转发的类型本地端口转发 (-L) 将远程服务器上的服务映射到本地端口,用于访问远程服务。ssh -L [本地地址:本地端口]:[远程地址:远程端口] user@your-server示例:ssh -L 8080:localhost:80 user@your-server本地 8080 端口映射到远程服务器的 80 端口。本地访问 http://localhost:8080,即访问远程服务器的 http://localhost:80。远程端口转发 (-R) 将本地服务映射到远程服务器的端口,用于将本地服务暴露到外网。ssh -R [远程地址:远程端口]:[本地地址:本地端口] user@your-server示例:ssh -R 0.0.0.0:8888:localhost:8080 user@your-server远程服务器的 8888 端口映射到本地的 8080 端口。外部访问 http://your-server:8888,即可访问本地的 http://localhost:8080。动态端口转发 (-D) 将本地端口作为 SOCKS 代理,用于动态访问任意远程服务。ssh -D [本地地址:本地端口] user@your-server示例:ssh -D 127.0.0.1:1080 user@your-server本地 127.0.0.1:1080 作为 SOCKS 代理,可通过浏览器等工具配置访问外网。配置 /etc/ssh/sshd_config 文件为了使远程端口转发(-R)正常工作,可能需要修改远程服务器的 SSH 配置文件 /etc/ssh/sshd_config。关键配置项允许 TCP 转发确保以下配置为 yes:AllowTcpForwarding yes启用网关端口使远程端口可以绑定到非本地地址:GatewayPorts yesGatewayPorts no:默认值,只允许绑定到 127.0.0.1(本地回环地址)。GatewayPorts yes:允许绑定到所有地址。GatewayPorts clientspecified:根据客户端的 -R 命令指定绑定地址。重启 SSH 服务修改配置后,重启 SSH 服务使其生效:sudo systemctl restart sshd常用组合参数1. 保持连接活跃 (-fN)-f:在连接建立后,SSH 会后台运行。-N:只建立端口转发,不执行远程命令。ssh -fN -L 8080:localhost:80 user@your-server2. 指定绑定地址-L 本地绑定地址:127.0.0.1 仅本地访问,0.0.0.0 外部可访问。-R 远程绑定地址:同样使用 127.0.0.1 或 0.0.0.0。ssh -R 0.0.0.0:8888:localhost:8080 user@your-server3. 动态端口转发 + 指定 SOCKS 代理使用 -D 开启动态端口转发,将本地端口作为 SOCKS 代理:ssh -D 127.0.0.1:1080 user@your-server4. 禁用伪终端-T:禁用伪终端分配,用于纯端口转发:ssh -T -R 8888:localhost:8080 user@your-server5. 指定配置文件-F:使用自定义 SSH 配置文件:ssh -F ~/.ssh/custom_config -L 8080:localhost:80 user@your-server远程端口转发的安全性考虑限制绑定地址如果不需要外网访问,建议远程端口绑定到 127.0.0.1,避免暴露服务:ssh -R 127.0.0.1:8888:localhost:8080 user@your-server强制使用 SSH 密钥认证配置服务器强制使用密钥认证,避免账户被暴力破解:PasswordAuthentication no监控转发端口的使用在远程服务器上监控端口转发的使用情况:netstat -tlnp完整案例1. 将本地服务暴露到远程服务器并开放外网访问ssh -R 0.0.0.0:8888:localhost:8080 user@your-server在远程服务器的 8888 端口监听,外部可通过 http://your-server:8888 访问。2. 映射远程服务到本地ssh -L 8080:localhost:80 user@your-server将远程服务器的 80 端口映射到本地 8080,本地访问 http://localhost:8080。3. 配置 SOCKS 代理ssh -D 127.0.0.1:1080 user@your-server本地 127.0.0.1:1080 作为 SOCKS 代理,可代理访问外网。